Let’s get started.
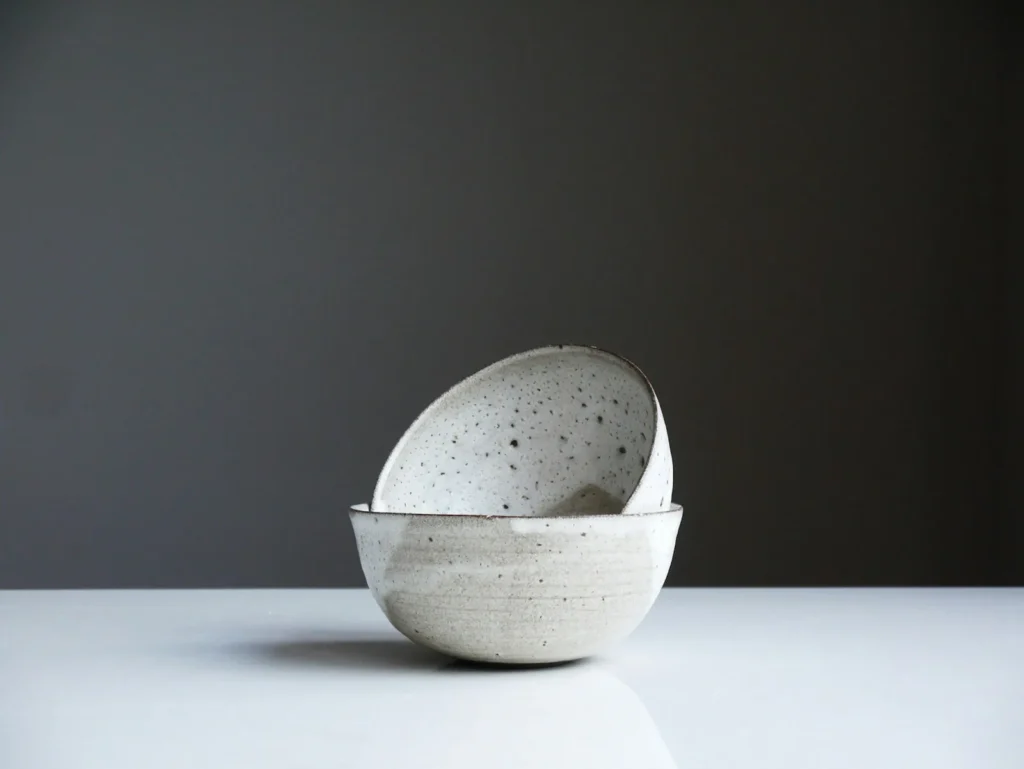
- Cover your table and knead a small piece of air-dry clay until it is pliable.
- Roll it to an even thickness, following the thickness guidance on your clay packaging.
- Cut a circle with a blunt tool. Gently curve the edges upward to form a shallow dish.
- Smooth the edges with slightly damp fingertips. Let the dish dry fully for the time specified by the clay manufacturer, turning it if recommended.
- Decorate with acrylic paint once dry. Use it for dry objects such as jewellery or keys.
Good to know
Air-dry clay is not fired ceramic. This dish is decorative: do not use it for food, water or candles. Active making time excludes drying.
Air-dry clay is not fired ceramic. This dish is decorative: do not use it for food, water or candles. Active making time excludes drying.
Our guides are educational starting points, not hands-on product reviews. Follow the instructions supplied with your materials. About our recommendations.